 PosellaPosella
An ao dai photographs best when the panels have room to move and the body keeps a soft curve. This set concentrates on arm positions and the angle of the turn, so the front and back panels stay separated — the mistake that makes most ao dai photos look cluttered.
The ao dai is a garment of movement. Standing still it is just flat fabric; with wind or a step, the two panels separate and give the dress its best line. That is why almost every good ao dai pose has motion in it, even if it is only a short step taken and held at the moment the shutter fires.
The most common mistake is the front and back panels collapsing into one mass, which makes the photo look cluttered and hides the shape. The fix is simple: turn about 45 degrees to the camera and take the far foot half a step back. The panels then separate on their own. If there is wind, stand so it crosses your body rather than pushing from directly behind.
Avoid letting both arms hang straight. The ao dai is already a long vertical line, and two more straight lines beside it read as monotonous. One hand holding the hem, a conical hat, a flower branch, or resting at the collar breaks it up. The best light is early sun filtered through trees, or an overcast day — a white ao dai blows out very easily in harsh sunlight.
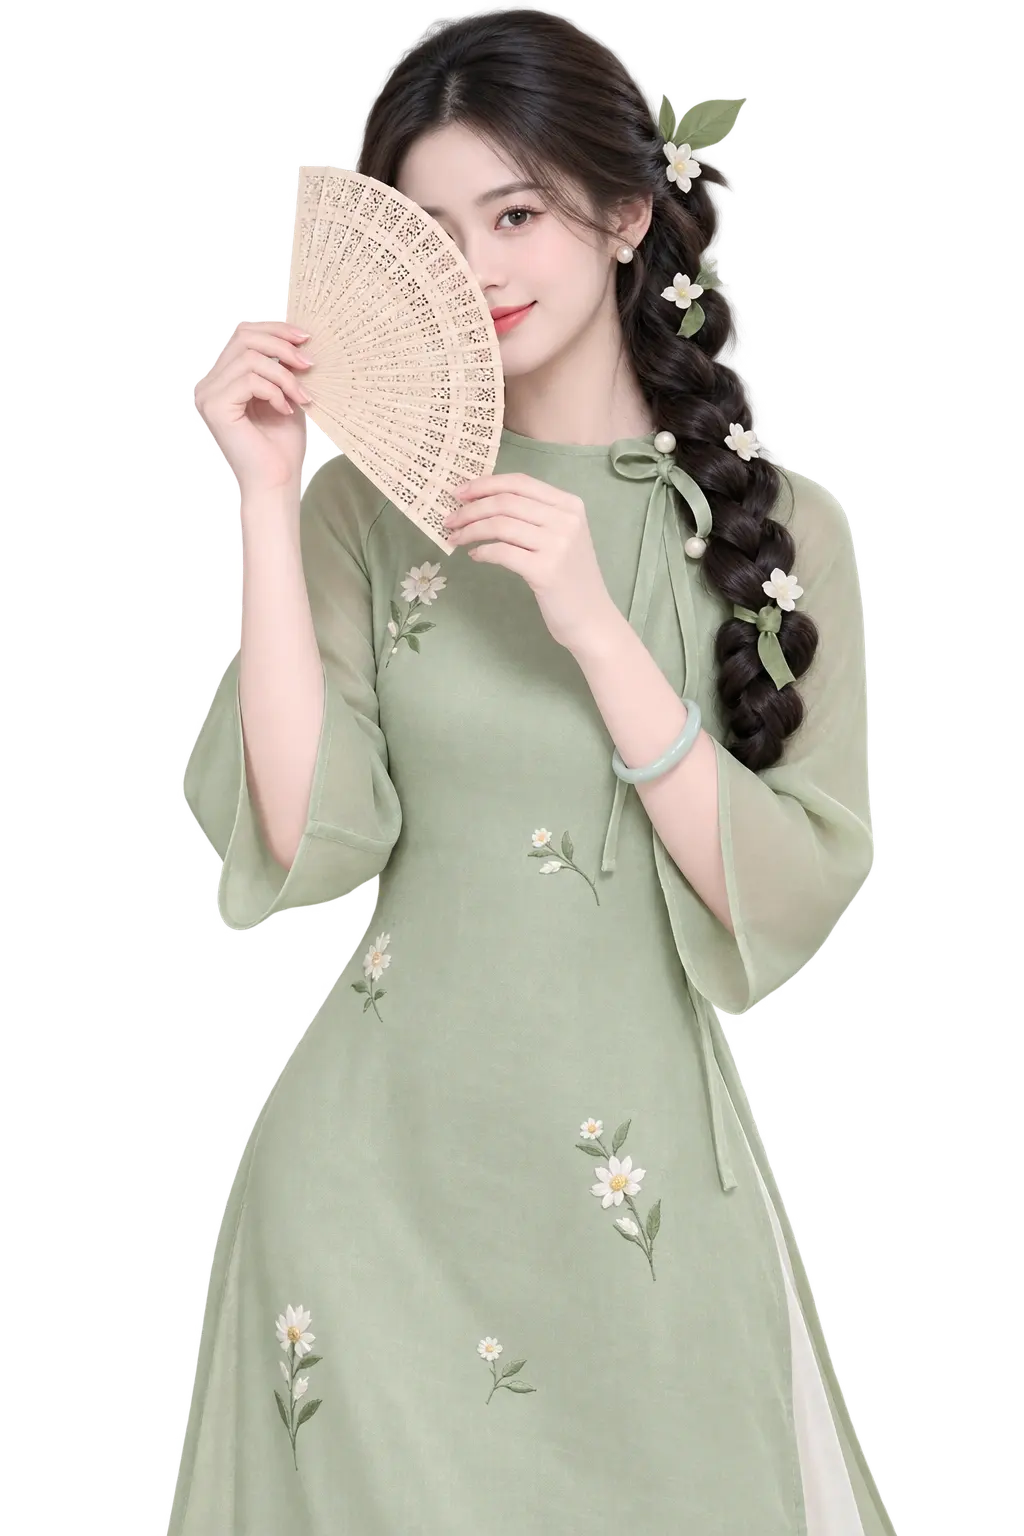

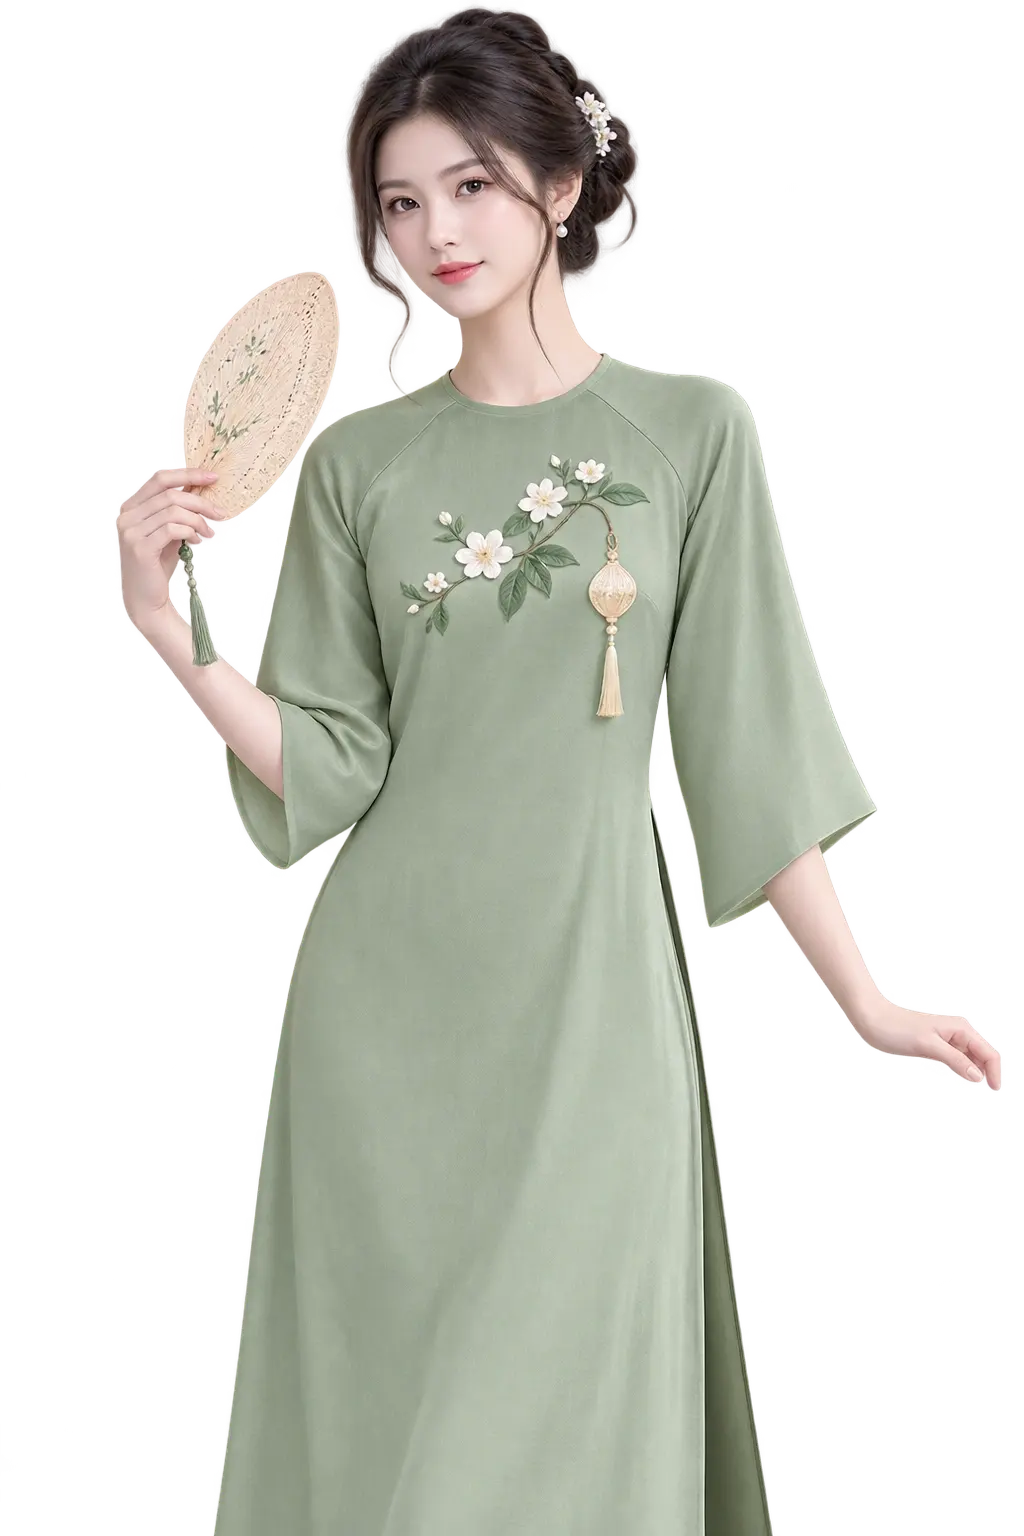
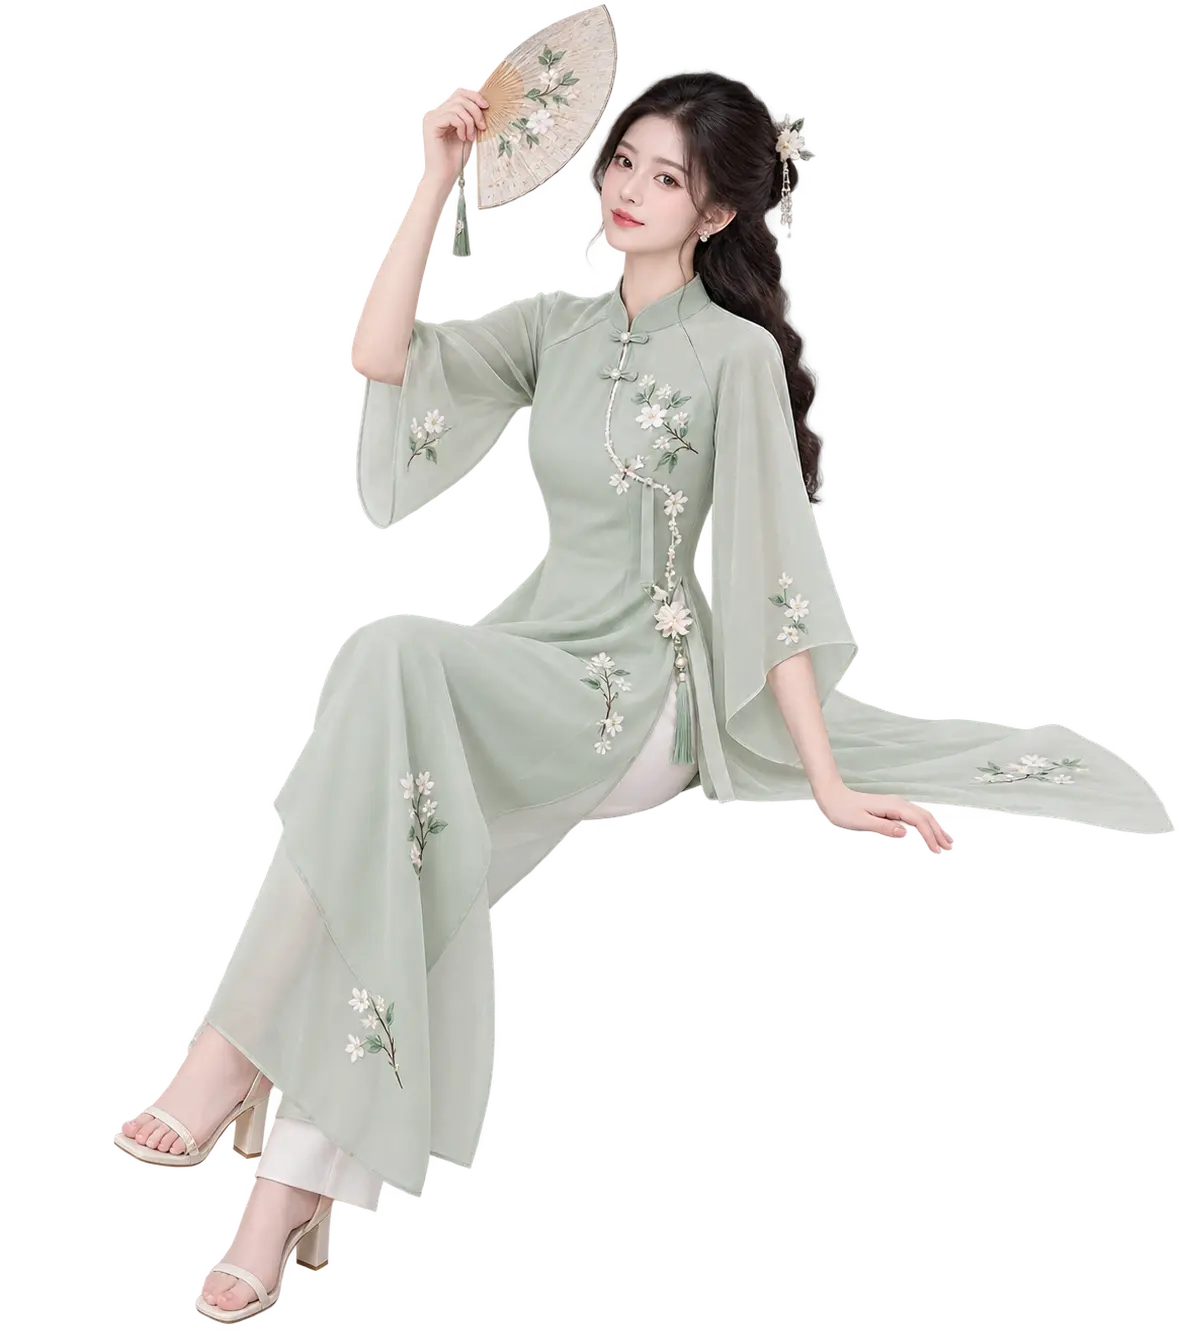
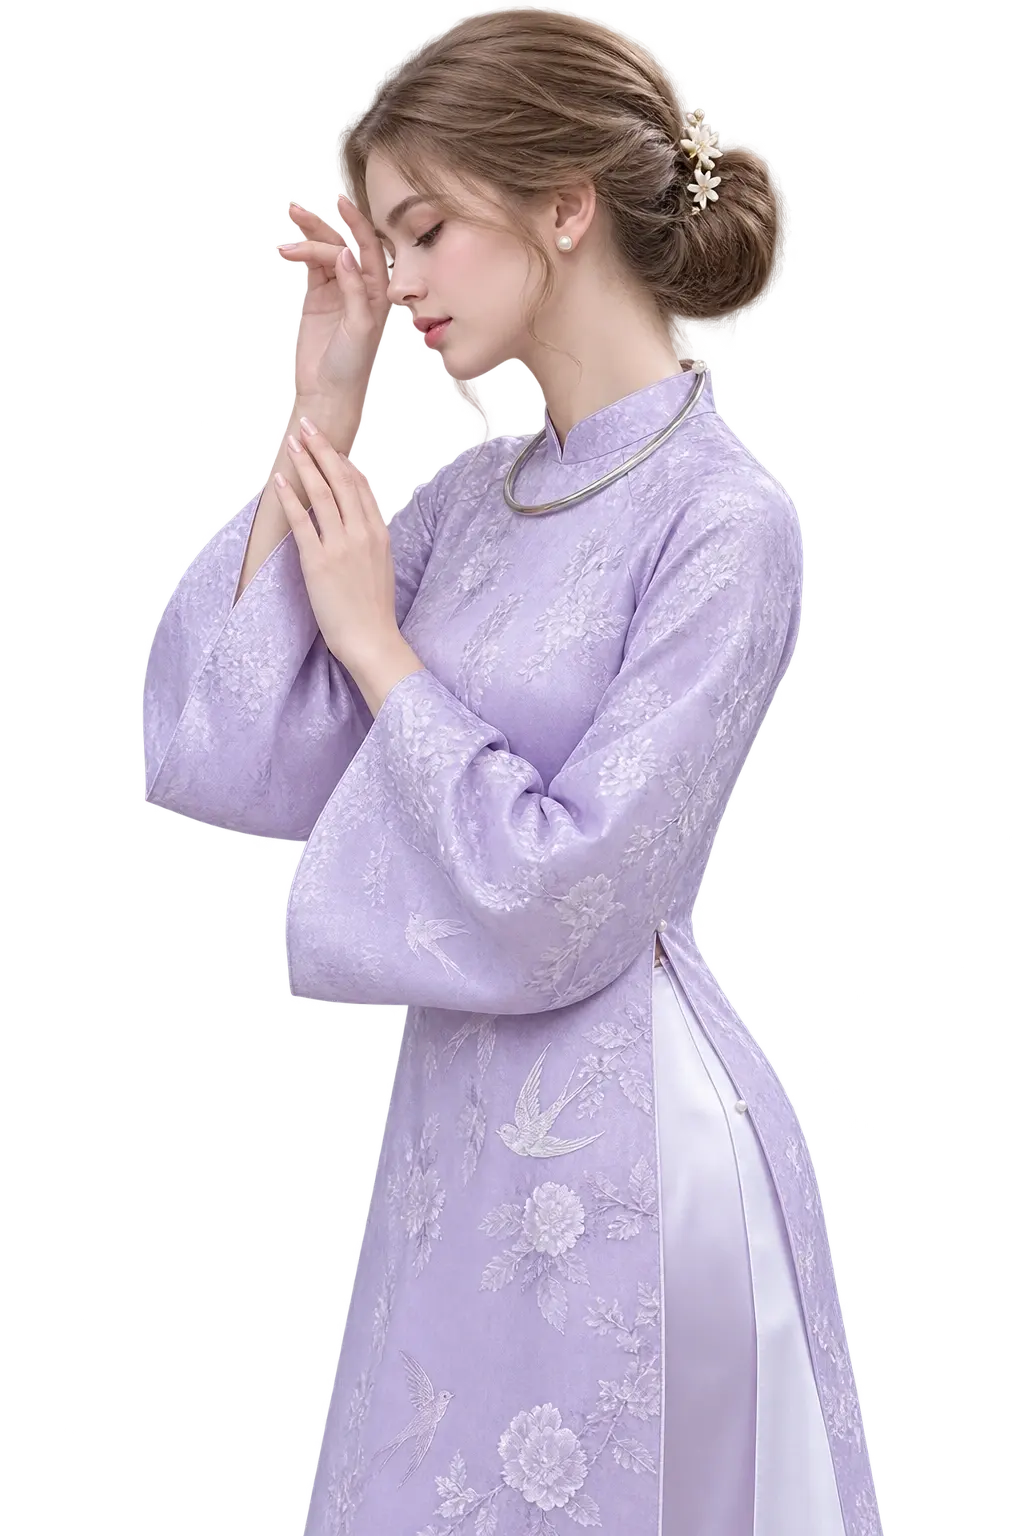
Showing 5 reference poses. Get the Posella app to see every pose in this setting and line up on them as you shoot.
Get it on Google PlayAn ao dai covers nearly every curve with a flat panel of fabric, so the camera can only read your shape through three things: the line of the shoulders, the point where the waist narrows, and the gap between the two panels. Standing square to the lens is the surest way to lose all three at once — the shoulders spread across the full width of the frame, the waist disappears under the fabric, and the panels overlap into one solid mass.
The fix is at the feet, not the arms. Turn the leading foot about 45 degrees away from the camera, put your weight on the back leg, and let the front knee soften. The hips tilt slightly on their own, the waist reappears, and the two panels fall in different directions. It is the smallest adjustment of the whole shoot and the one that changes the most.
A white ao dai is the brightest surface in the frame, usually several stops brighter than a face. In direct sun the camera is forced to choose: keep detail in the fabric and the face goes dark, or expose for the face and the panels blow out to featureless white. That is why so many midday ao dai photographs look harsh and flat at the same time.
An overcast day is the ideal condition, not a bright one. If you must shoot in sun, look for shade with light bouncing into it — a porch, thin tree cover, a pale wall opposite. Avoid dappled shade under dense leaves: the spots of sun landing on white fabric become scattered blown patches that no editing recovers.
Most ao dai photographs with beautifully floating panels were not made by natural wind. Real wind is unreliable, and when it arrives it usually comes from behind, pressing both panels against the legs — exactly what you were trying to avoid. The deliberate method is to make the movement yourself: take one short step forward, stop, and hold the position for half a second. The fabric still carries momentum and is open when the shutter closes.
If someone is with you, have them hold the far panel, draw it sideways and release it just before the frame is taken. Shoot three or four in a row; the usable one is normally the second or third. For orientation, stand so any wind crosses your body rather than pushing along it — a crosswind separates the panels, a tailwind glues them together.
Turn on your camera and line yourself up with a reference pose. The web version is preview only — shooting and saving live in the app.
Drag to move the pose, pinch (or scroll) to resize.
Pose to try
Taking and saving photos is app-only.
