 PosellaPosella
Hiking photos usually fail one of two ways: the person is a speck against the landscape, or they block the view they just climbed for. This set balances both by placing you off-centre and directing your gaze outward, treating pack and poles as props.
Hiking photos fail in two opposite ways: either you are a speck nobody can identify, or you stand dead centre blocking the view you spent all morning climbing for. Both are solved by placing yourself off to one side, occupying about a third of the frame, with your gaze directed out toward the landscape.
The most effective pose is mid-stride or just paused looking out, not standing with both arms raised in triumph. The arms-up shot is popular but flattens your body into a cross; standing at an angle with one foot higher, a hand on a knee or gripping a pack strap, gives a far more natural shape.
Let the pack and poles show rather than hiding them — they tell the story and give your hands something to do. On timing, early morning in the mountains often brings mist and beautifully angled light, while midday at altitude is fiercely contrasty and very hard on faces.
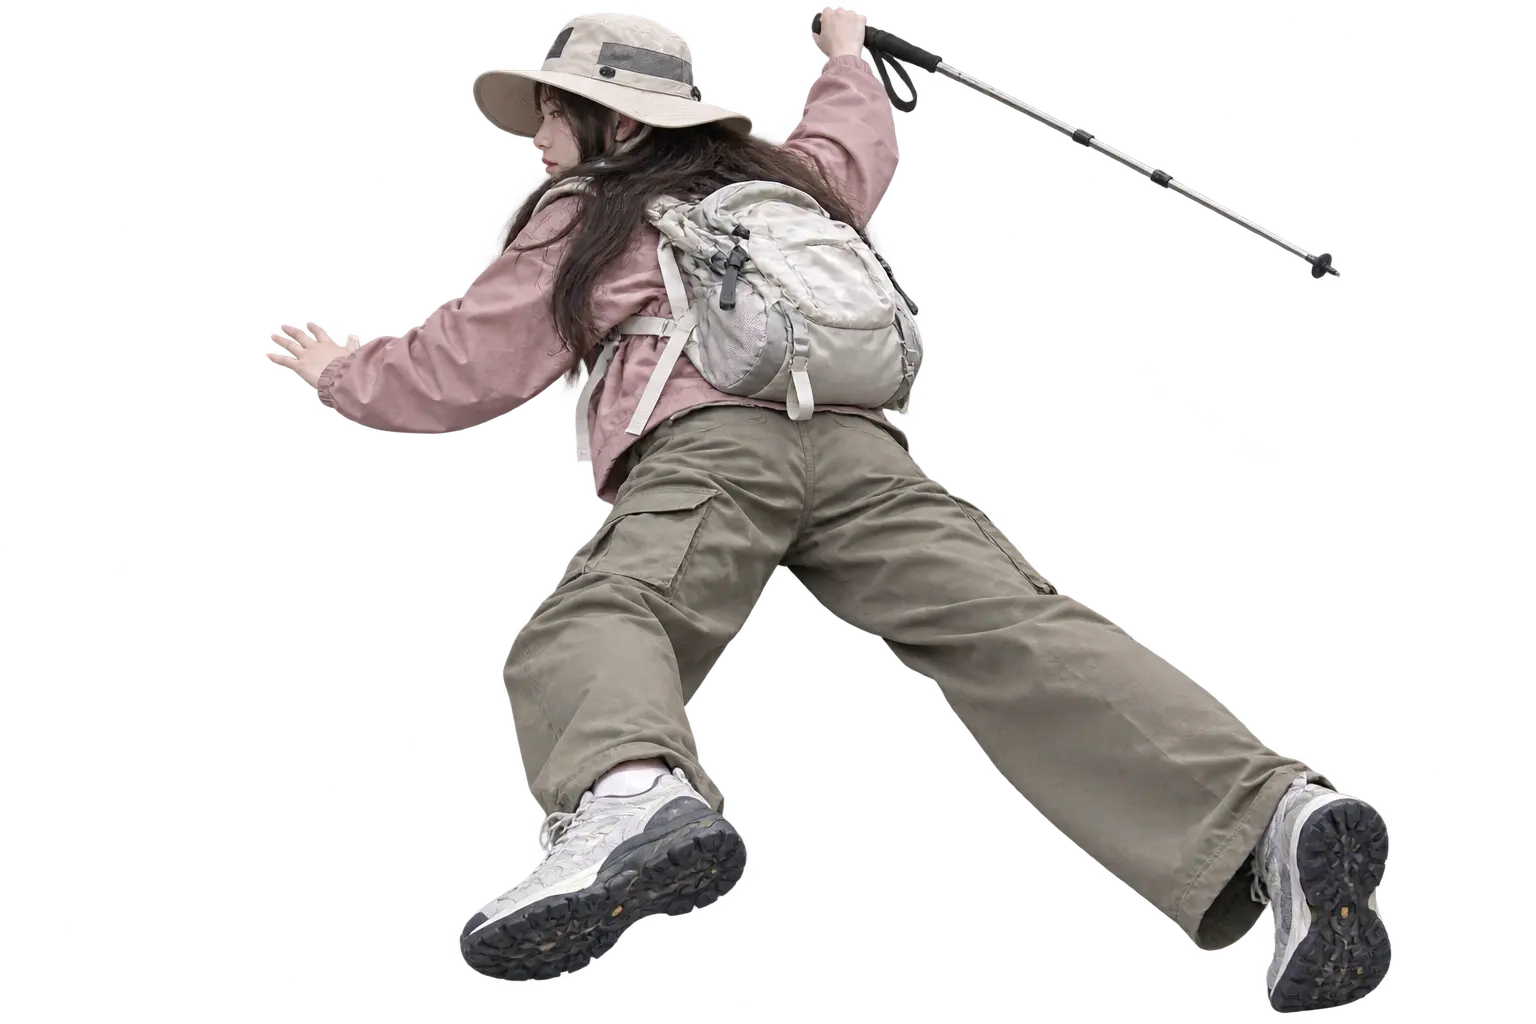
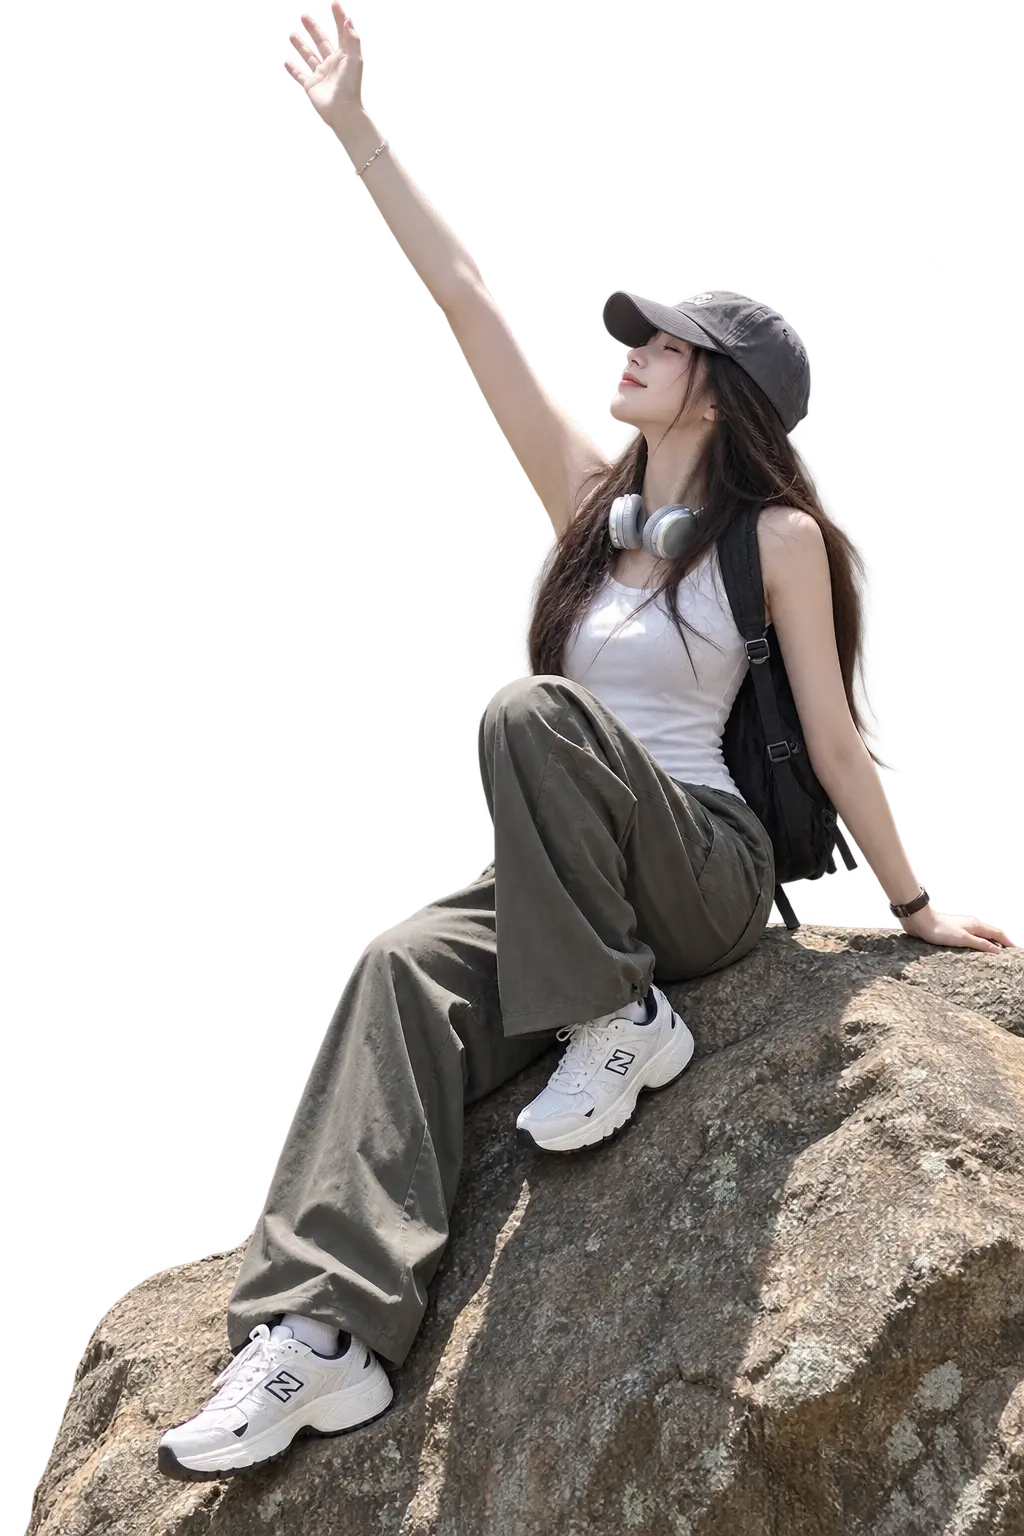
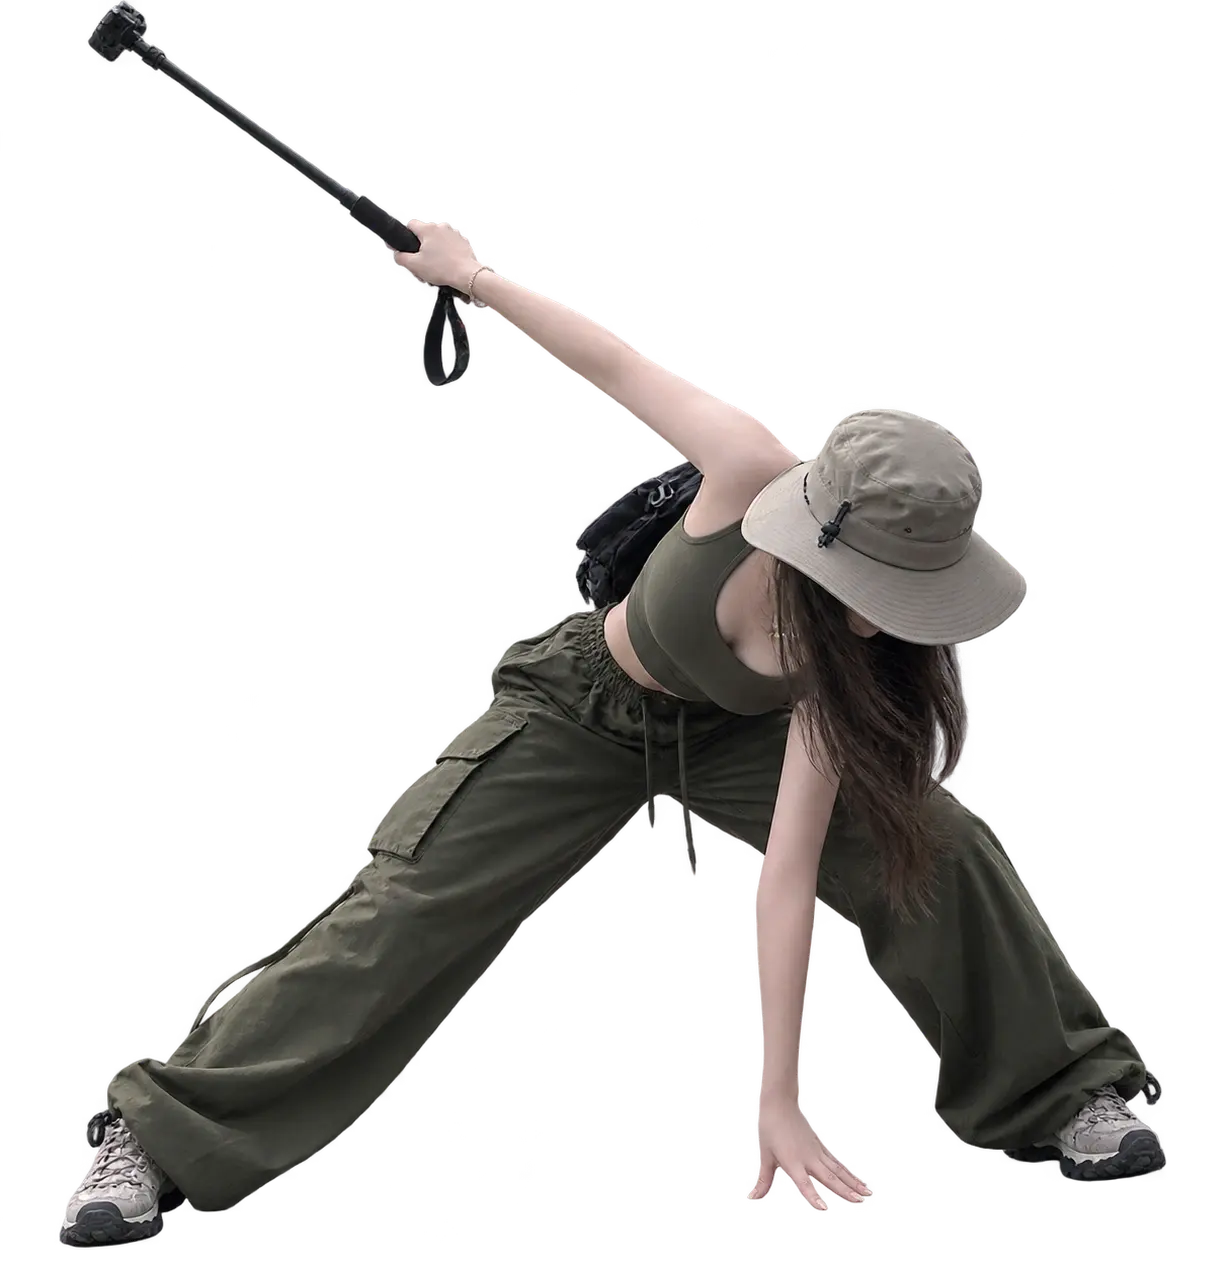
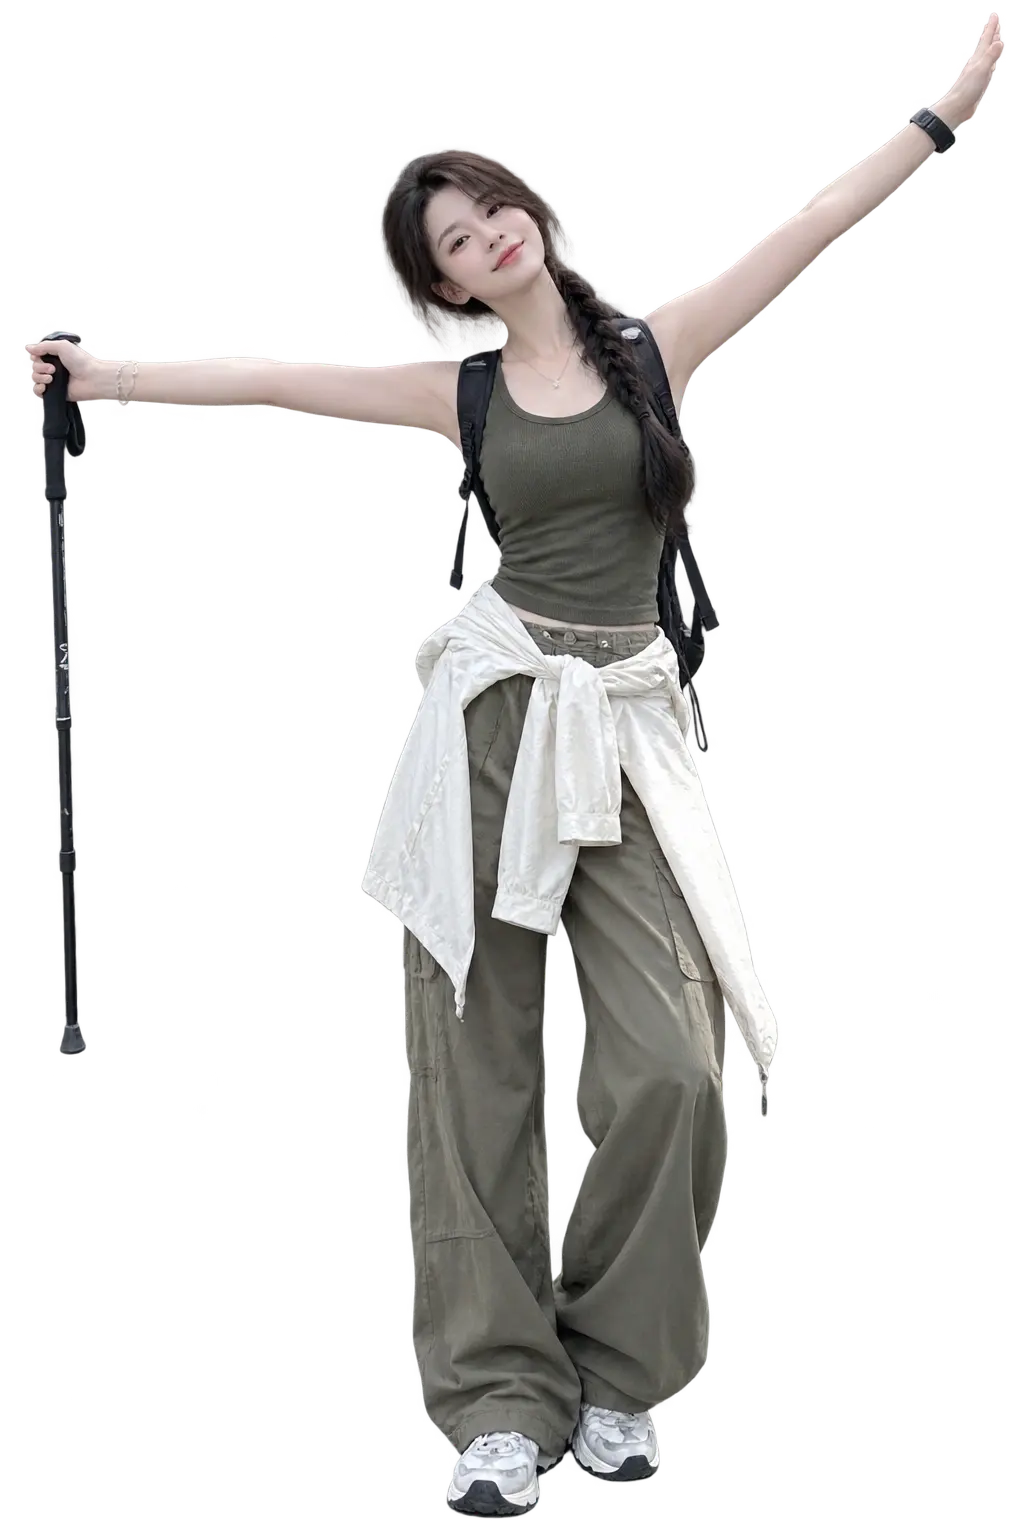
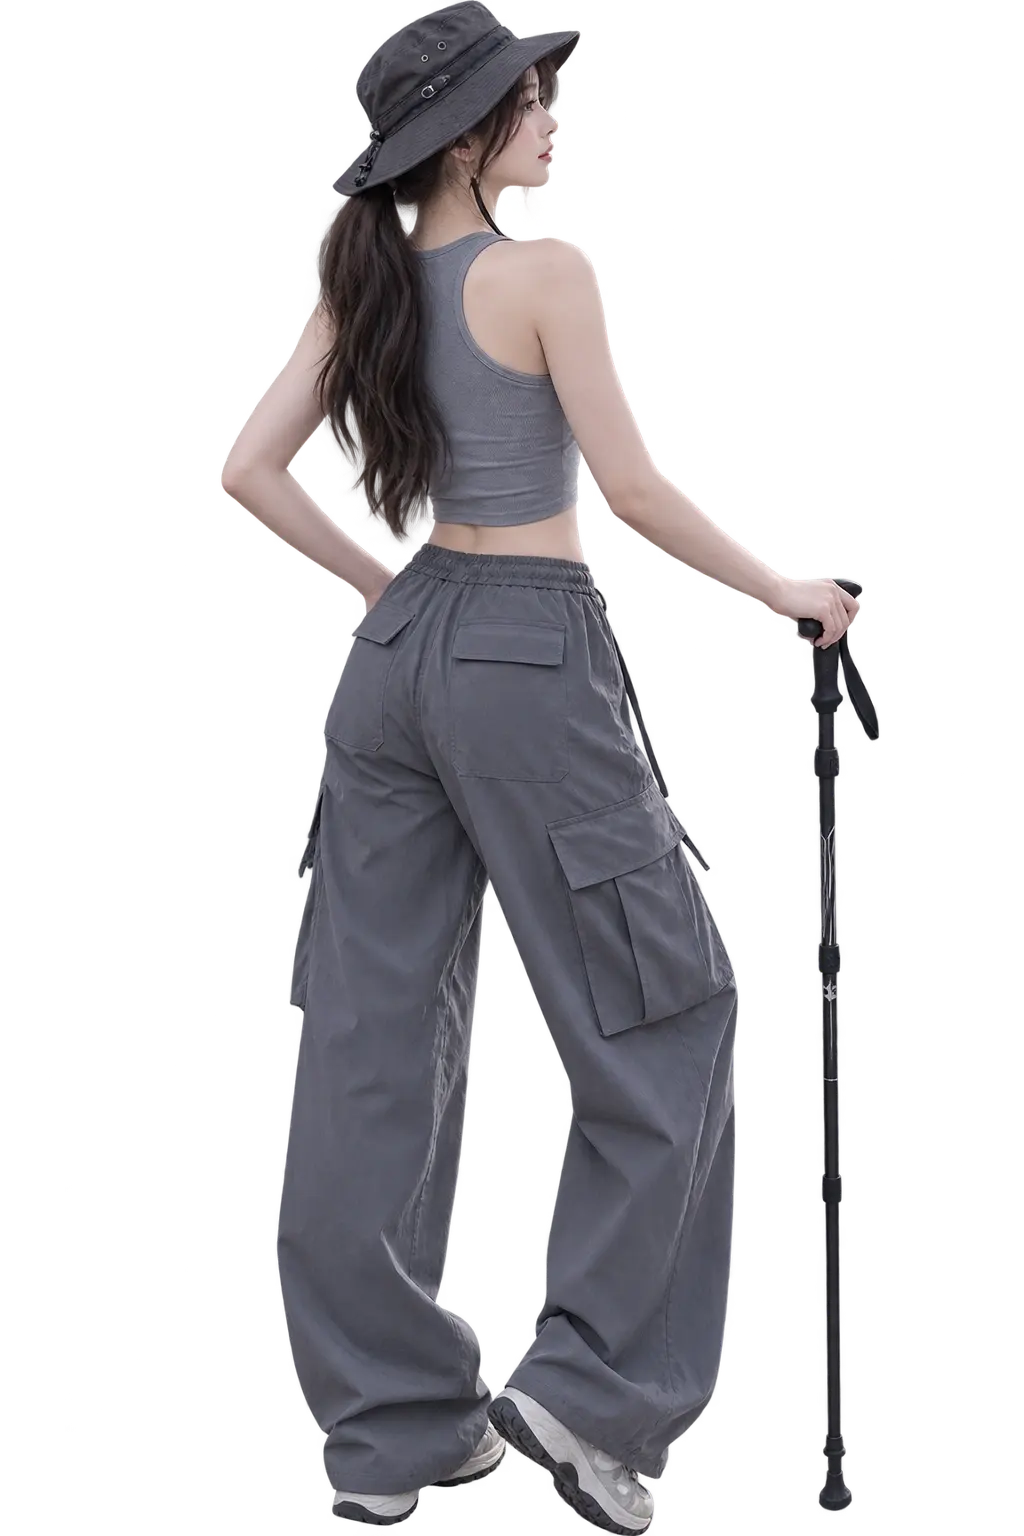
Showing 5 reference poses. Get the Posella app to see every pose in this setting and line up on them as you shoot.
Get it on Google PlayThe best stopping point on a trail is usually the one looking out over a valley or a sea of cloud, and it is also the spot where all the light comes from behind you. The camera meters for the wide bright sky and the face becomes a dark shape with almost no detail left in it.
Two fixes need no equipment. Tap the face on screen to force the meter onto it and accept a blown sky — in a photograph with a person, the face outranks the background. Or turn ninety degrees so the light arrives from the side, keeping the landscape behind you while the face is lit.
Hiking photographs come in two distinct kinds, and confusing them is why so many end up looking half-hearted. The first is a landscape containing a person: the figure occupies a small part of the frame, on a rock or along the trail, there to show the scale of the place. The second is a portrait with mountains behind: the person fills most of the frame and the scenery is backdrop.
The failed photograph is usually the one between the two — the figure too small to read as a face, too large to leave the landscape intact. Decide which one you are taking before the shutter, then walk closer or further back decisively.
Wild country is almost entirely green, brown and grey. A moss, beige or grey jacket merges into that background and the person disappears, however good the vantage point. This is a decision made while packing, not once you are on the ridge.
Red, orange, yellow and white separate from natural backgrounds most clearly. A red jacket in grey-green mountains is an old device that works so reliably that nearly every widely shared travel photograph uses it. If you can carry only one item chosen for photographs, make it the one with contrasting colour.
Turn on your camera and line yourself up with a reference pose. The web version is preview only — shooting and saving live in the app.
Drag to move the pose, pinch (or scroll) to resize.
Pose to try
Taking and saving photos is app-only.
