 PosellaPosella
Portraits are decided by very small things: the angle of the chin, the turn of the shoulders, where the eyes go. This set covers the fundamentals — pushing the chin slightly forward and down to define the jawline, and angling the shoulders rather than squaring them.
Portraits are decided by very small things, and most of them happen at the neck and chin. The instinct in front of a camera is to lift your chin, and that is the wrong direction. Push it slightly forward and then down — it feels strange to do, but it stretches the area under the jaw and defines the jawline.
Your shoulders should not be square to the lens. Turn 30 to 45 degrees away and bring your face back toward the camera; it puts a diagonal through the frame and narrows the torso. For a half-body shot, shift your weight onto one leg rather than standing evenly. That change alone takes most of the stiffness out.
The eyes matter more than the smile. A wide smile with unchanged eyes reads as forced immediately. Try tightening the lower lids very slightly — that is what happens naturally in a real smile. And if looking straight down the lens feels uncomfortable, look away and turn back on the count; the moment just after turning back is usually the most honest one.


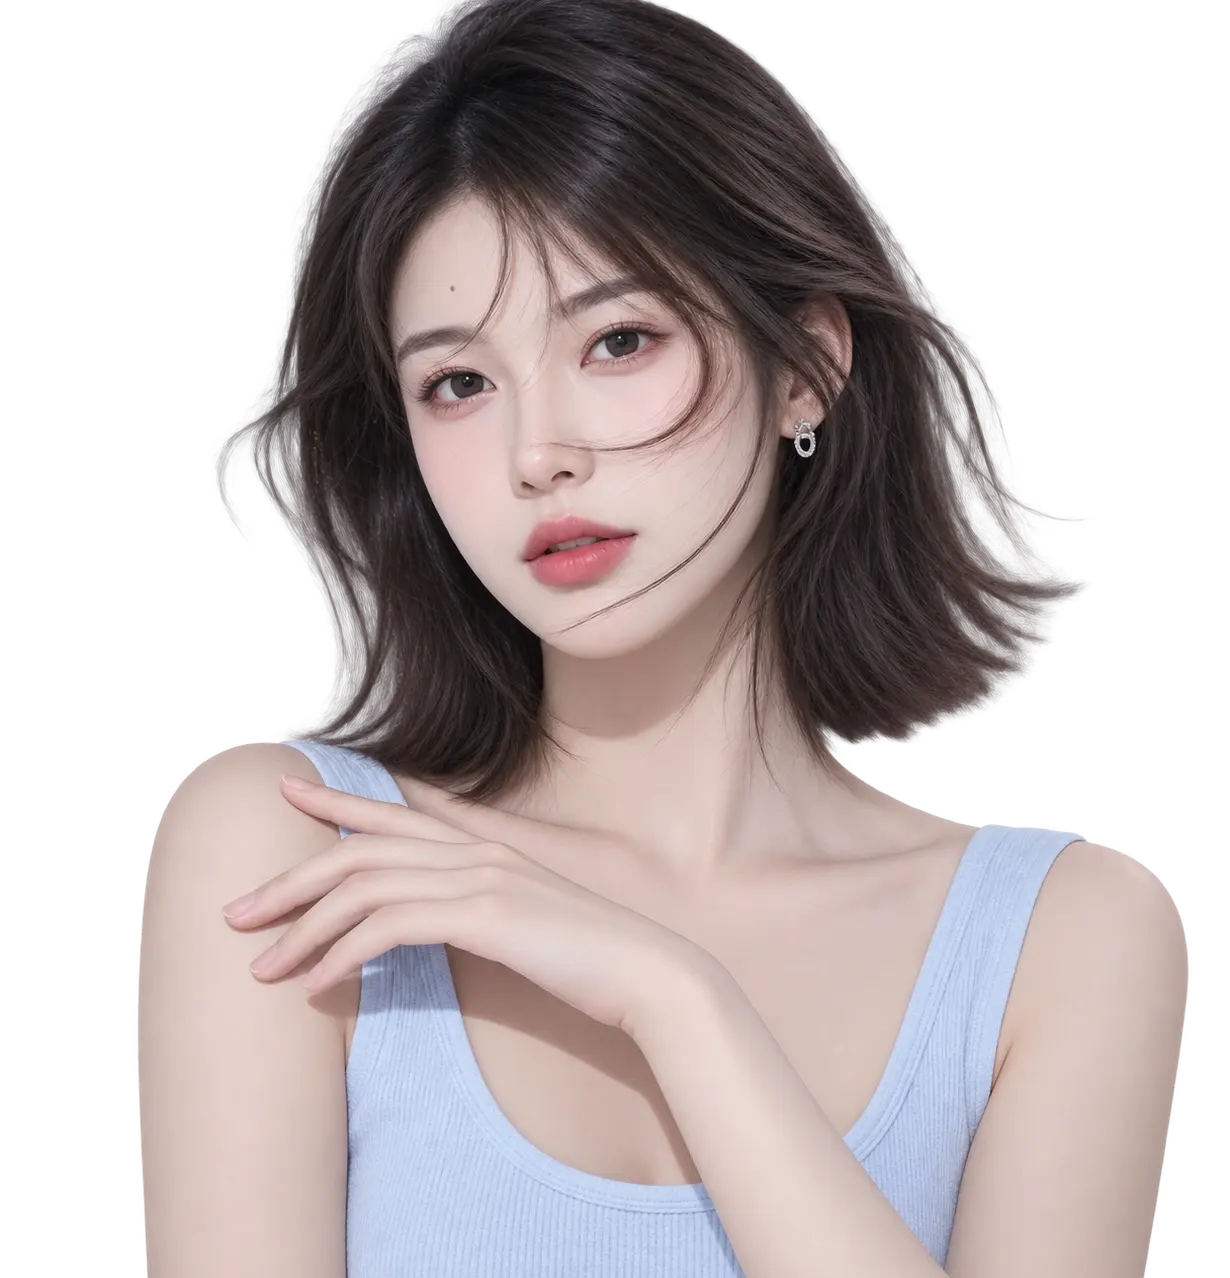


Showing 5 reference poses. Get the Posella app to see every pose in this setting and line up on them as you shoot.
Get it on Google PlayPortraits taken close up on a phone tend to enlarge the nose, shrink the ears and stretch the face. The cause is not sensor quality but distance: whatever is nearer the lens is magnified more, and at half a metre the difference between the tip of the nose and the cheeks is large enough to see.
The fix costs nothing: step back to twice the distance and zoom in with the telephoto lens if the phone has one. At a metre and a half to two metres, facial proportions return to what the eye actually sees. This is the largest single difference between an amateur portrait and a competent one — larger than lighting.
Good portraits almost always use a light source that is large relative to the face and comes from one side rather than head on. A large source gives a soft transition across the cheekbone and jaw; a small one — a built-in flash, a ceiling spotlight — gives a hard edge that emphasises every texture on the skin.
Indoors, the free large source is a window. Stand one to two metres from it, turn about forty-five degrees away, and you have the light studios rebuild with lamps and diffusers. Check it by looking at the subject’s eyes: a visible bright reflection in the iris means the angle is right.
When a camera comes up, almost everyone instinctively lifts the chin and tips the head slightly back. That is precisely the position that exposes the underside of the chin and shortens the neck. It feels confident to do and is the least flattering thing available.
The correct adjustment sounds wrong: push the chin forward and then slightly down, as though leaning in to read small print. This stretches the skin under the jaw and separates the jawline from the neck. It feels awkward while you hold it, but the camera records the result, not the sensation.
Turn on your camera and line yourself up with a reference pose. The web version is preview only — shooting and saving live in the app.
Drag to move the pose, pinch (or scroll) to resize.
Pose to try
Taking and saving photos is app-only.
