 PosellaPosella
Selfies are hard because the lens is very close, and a close lens enlarges whatever is nearest to it. Every selfie technique is really about controlling that.
Camera height matters more than your expression. Held below your face, the phone shoots up into your chin and neck — the least flattering angle there is for anyone. Raise it slightly above eye level and tilt down: the jaw tightens and the eyes read larger. That single change does more than any filter.
The front camera is a wide-angle lens, so it exaggerates whatever is closest. Held right up to your face, it enlarges your nose noticeably. Extend your arm fully, or better, use a selfie stick — the further away, the more natural your proportions. This is why photos other people take of you usually look better than your selfies, with the same face and the same light.
For light, face the source rather than putting it behind you. Standing with your back to a window is the most common mistake: the camera meters for the bright background and leaves your face dark. The best selfie light is facing a window on an overcast day, or outdoors in open shade — diffused, with no harsh shadows.
Finally, arms and shoulders. Shoulders square to the camera widen your torso; turn slightly and drop the shoulder nearer the lens. Keep the holding arm a little bent rather than locked straight — a rigidly extended arm reads immediately as someone trying to pose.
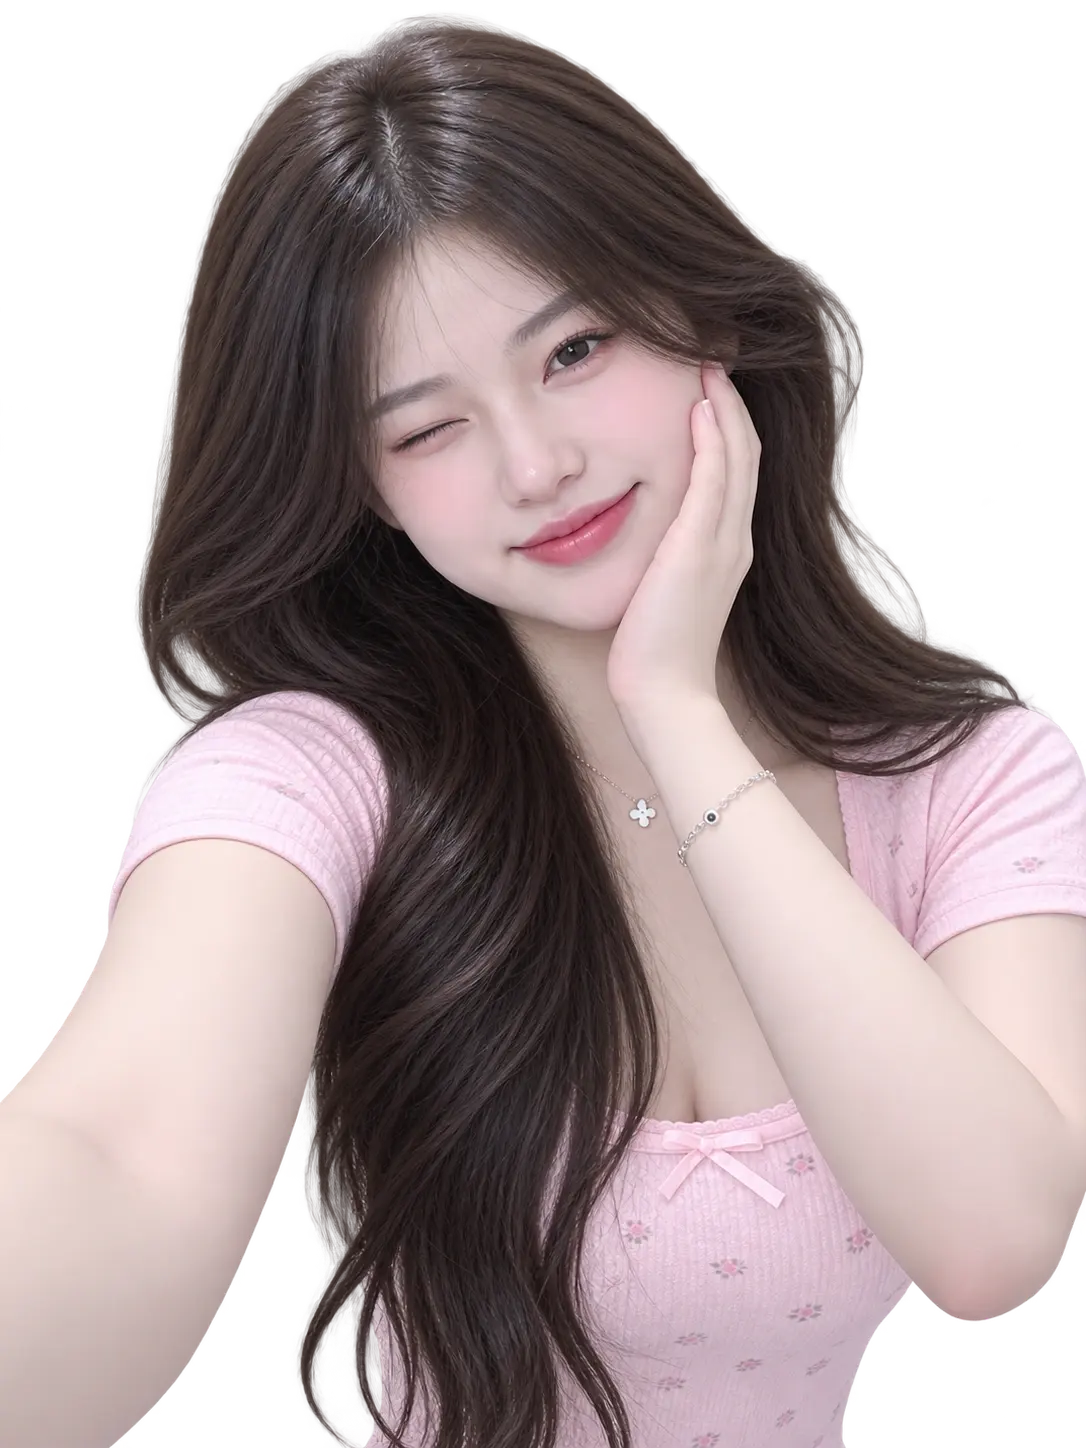
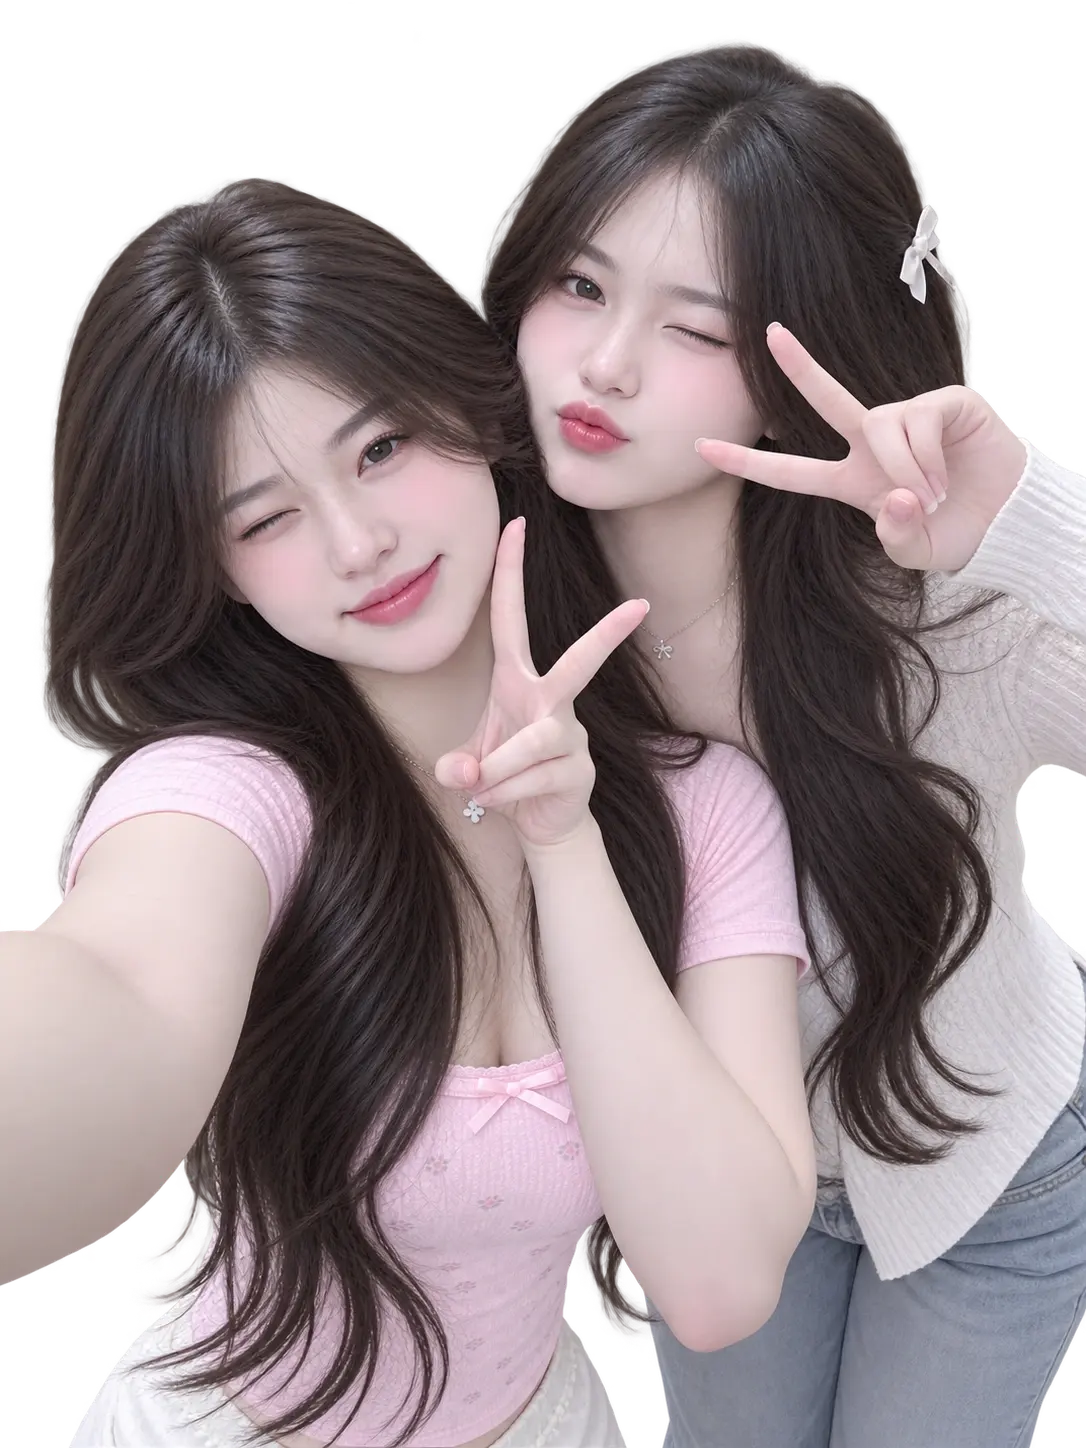
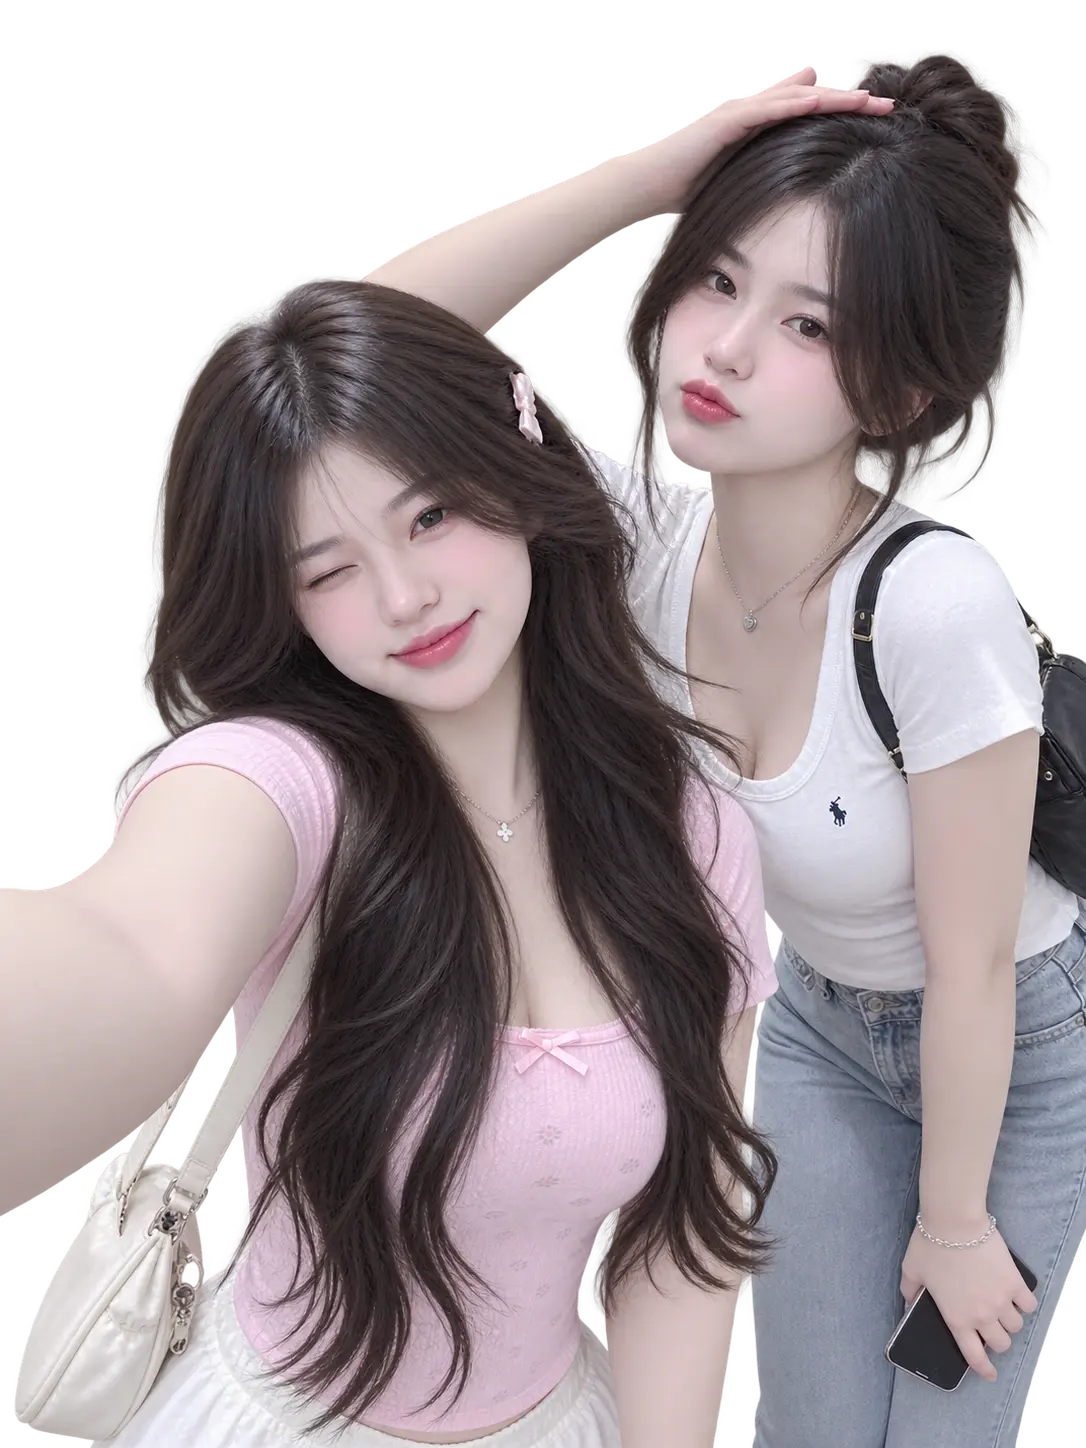
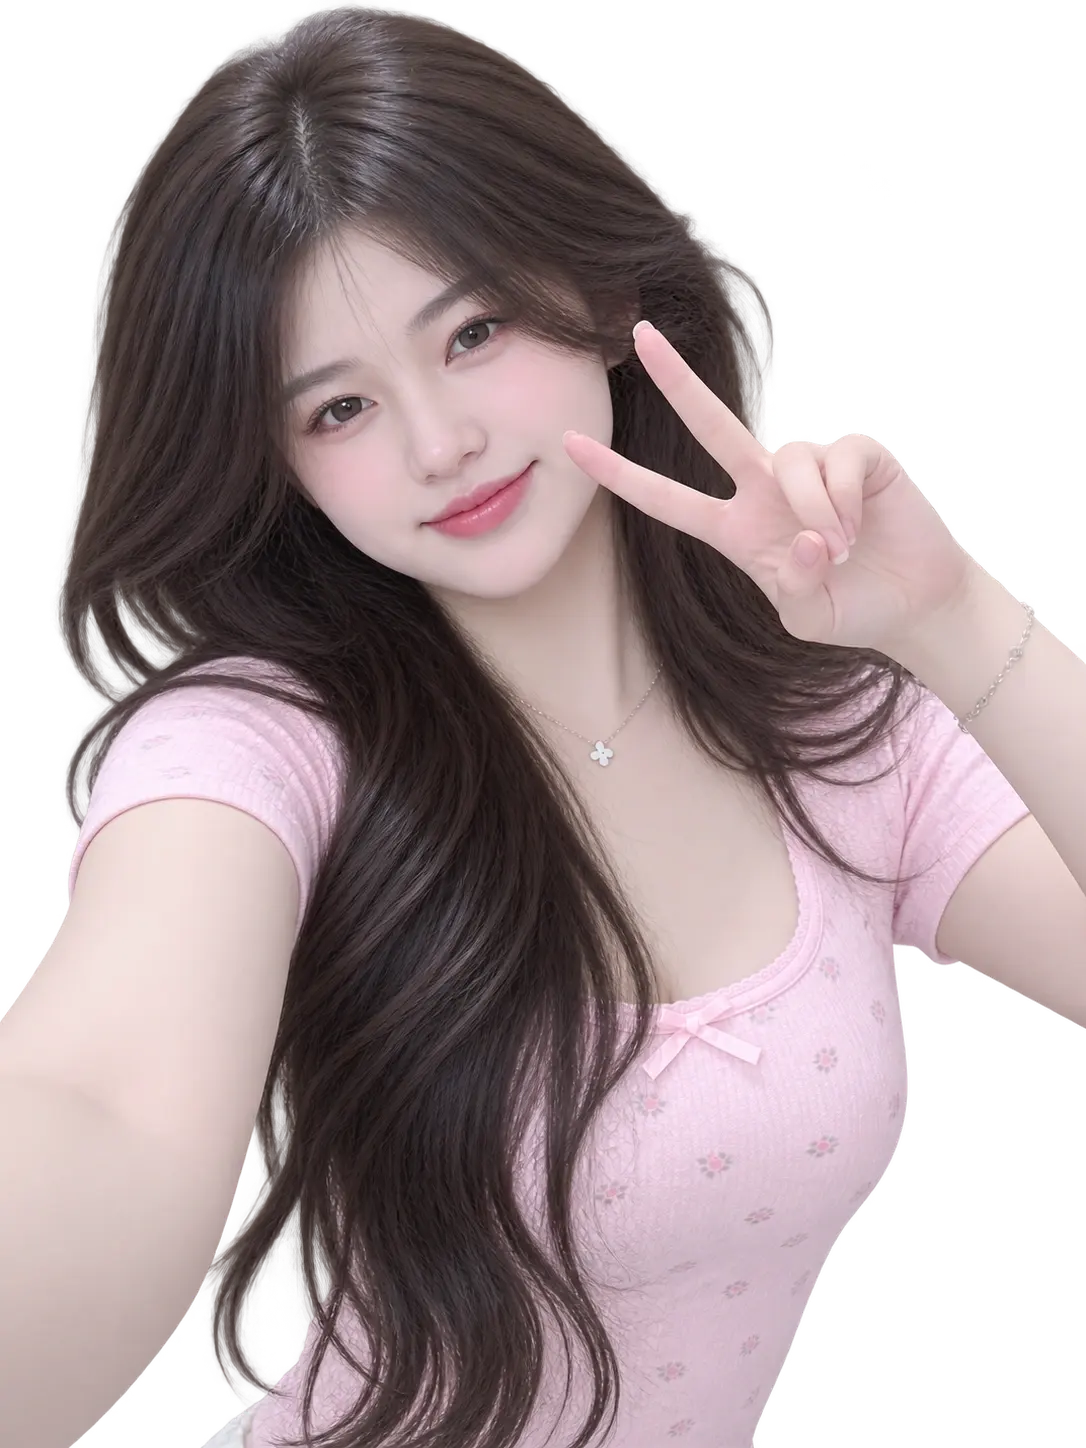
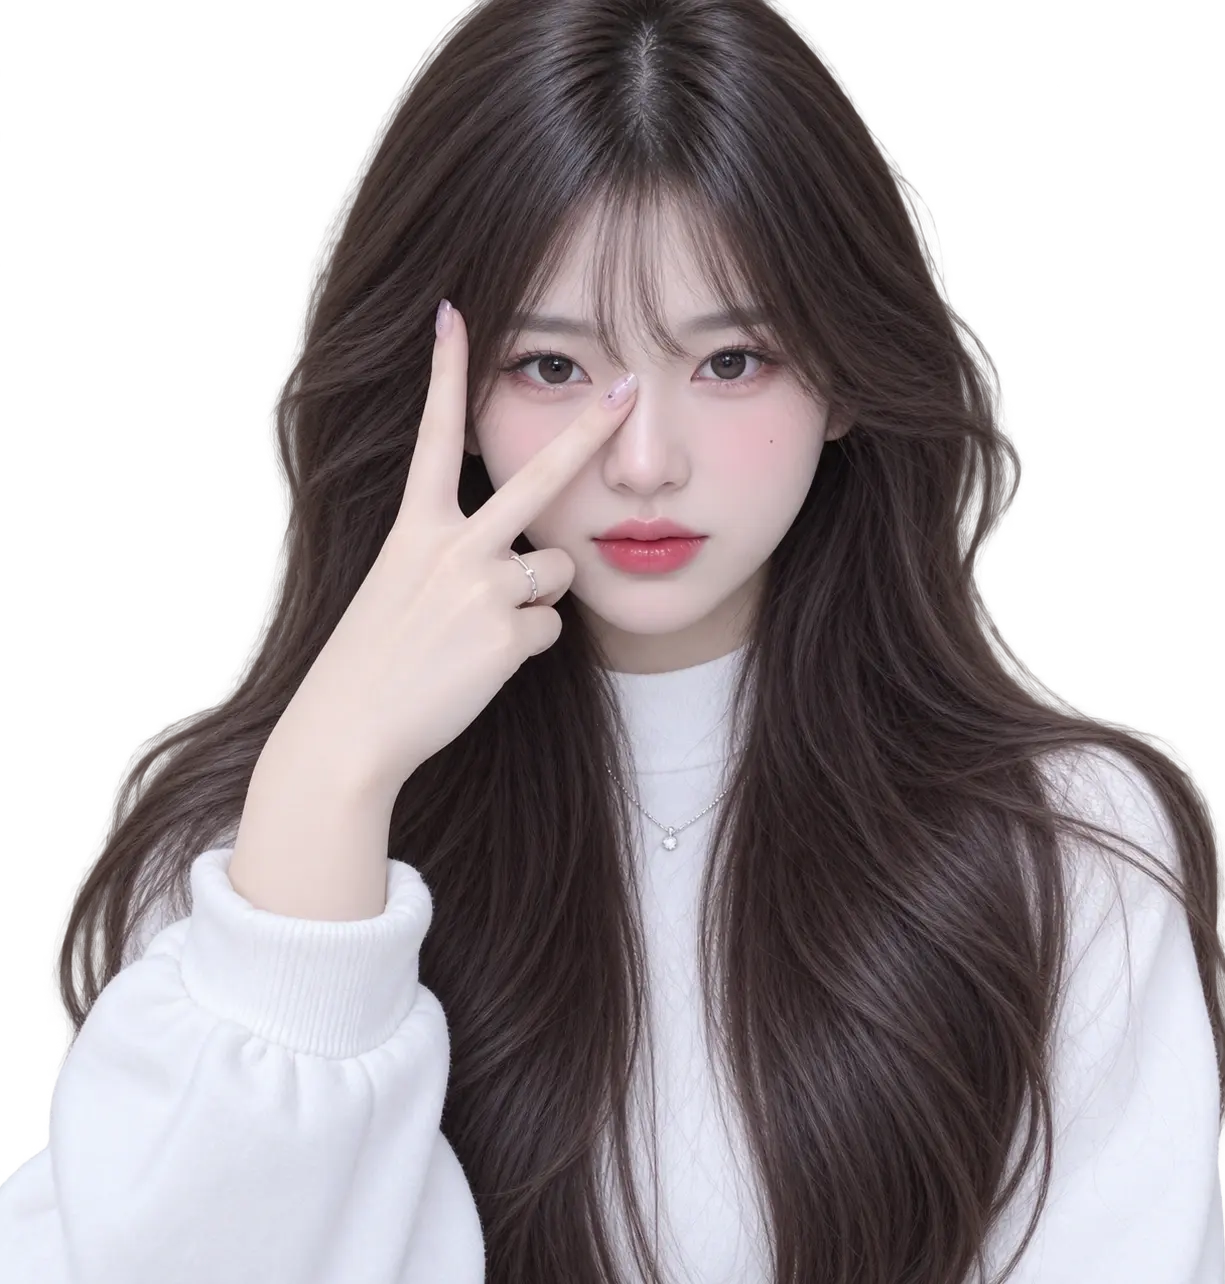
Showing 5 reference poses. Get the Posella app to see every pose in this setting and line up on them as you shoot.
Get it on Google PlayHolding the phone at eye level or below causes most disappointing selfies: a low angle exposes the underside of the chin, enlarges the nose and produces a looked-up-at feeling. It is the default because that is where the arm is comfortable, not because it works.
Raise the phone ten to twenty centimetres above eye level and tilt it slightly down. That angle lengthens the neck, tightens the chin and opens the eyes. Do not overdo it — past a certain point the head reads as oversized against the body, and the picture moves from flattering to distorted.
The one rule worth memorising about selfie lighting: the source belongs in front of your face, not behind your back. Standing with a window behind you is the surest way to produce a dark face against a bright white rectangle, because the camera meters the whole frame and the brightest area wins.
The best selfie light is indirect daylight: facing a window on an overcast day, or outdoors in open shade. Avoid indoor ceiling lights — they come straight down, drop shadow into the eye sockets, and usually carry a yellow cast that makes skin look dull.
The front camera preview normally shows a mirrored image, matching what you see in an actual mirror. Many phones then save the file unmirrored — the reverse of what you were just looking at. This is why so many people find their own selfies subtly wrong without being able to name what changed.
Faces are not symmetrical, so the mirrored and unmirrored versions really are two different images, and we are far more familiar with the mirror one. If a photo bothers you and you cannot say why, try flipping it horizontally in an editor. Very often that is the entire problem.
Turn on your camera and line yourself up with a reference pose. The web version is preview only — shooting and saving live in the app.
Drag to move the pose, pinch (or scroll) to resize.
Pose to try
Taking and saving photos is app-only.
